Upload & Ingest
Uploading Files and Folders into Quarantine
Files and Directories can be simple and quickly uploaded into Curate TM, but only into the Personal and Quarantine workspaces. If files are uploaded into the Personal workspace they cannot be moved out into any other workspace. Any file which is uploaded or moved into the Quarantine workspace will be virus checked and a visual indication given if the virus check was successful and the file virus free. Any file that is found with a virus is immediately moved to a folder within the Quarantine workspace called Infected. Files will be automatically re-scanned for viruses after 30 days if they are left in the Quarantine workspace, after which time they are then labeled Virus Free and available for Release. Curate TM does not stop you from moving files out of Quarantine at any time you wish.
Advanced Web-uploader
The advanced web-uploader is the main ingest tool in Curate. It's fast, efficient and offers several useability benefits over other, lower level upload methods. The advanced web-uploader can handle ingests of thousands of files and tens of gigabytes, making it capable of processing most common ingest workloads.
We would strongly recommend using the advanced web-uploader for the majority of your ingests, where the size and volume is appropriate.
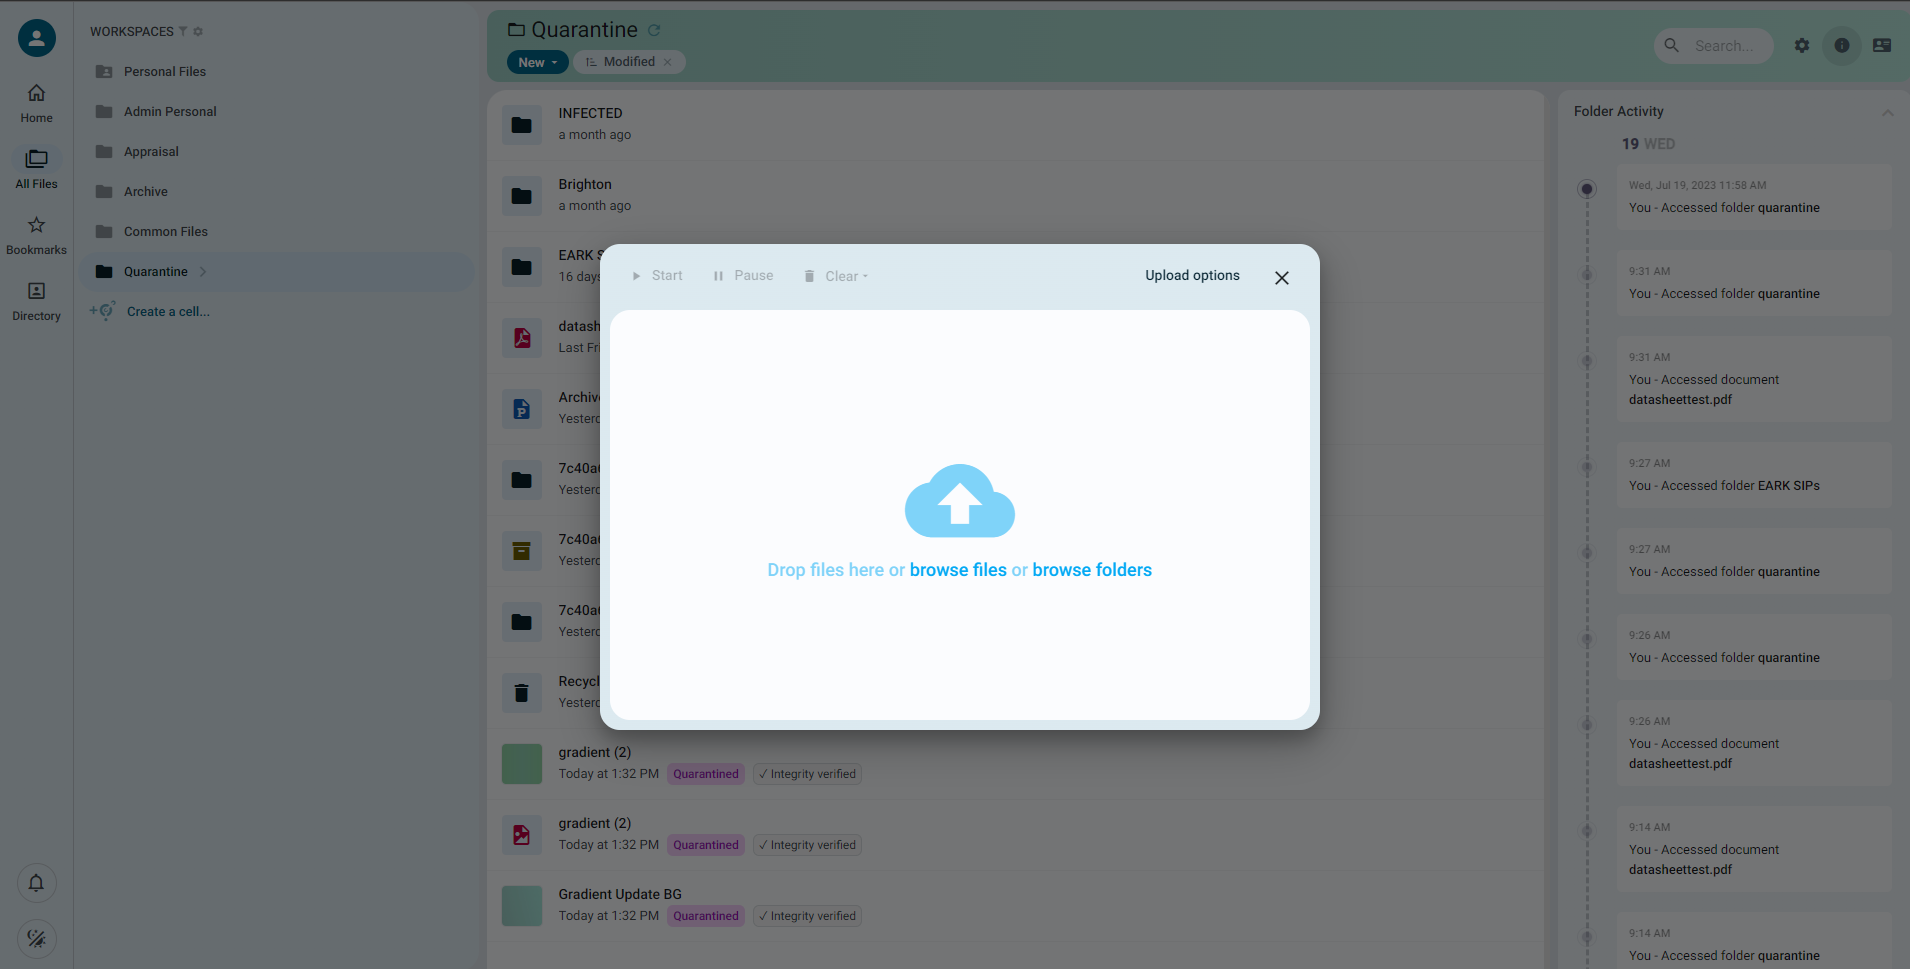
Try uploading files and folders (you can upload any complex folder structure) using the advanced web-uploader. You can do this by selecting 'New' at the top of the screen, and then Upload.
You can drag and drop into the pop-up box or select to upload files or folders. If you are uploading a large file or folder you can minimize the upload window by clicking the X in the top right. You can then carry on working and see the progress of the upload at any time by clicking the 'Jobs Running' area at the bottom left of the window. New upload jobs can be added at any time and will just be added to the upload queue.
You can also simply drag your objects into the Curate window with the appropriate location open and the content will be uploaded directly.
Web-uploader Options
When using the Curate web-uploader, you can also set configuration options that dictate how Curate handles certain situations that can be dangerous to an archiving workflow.
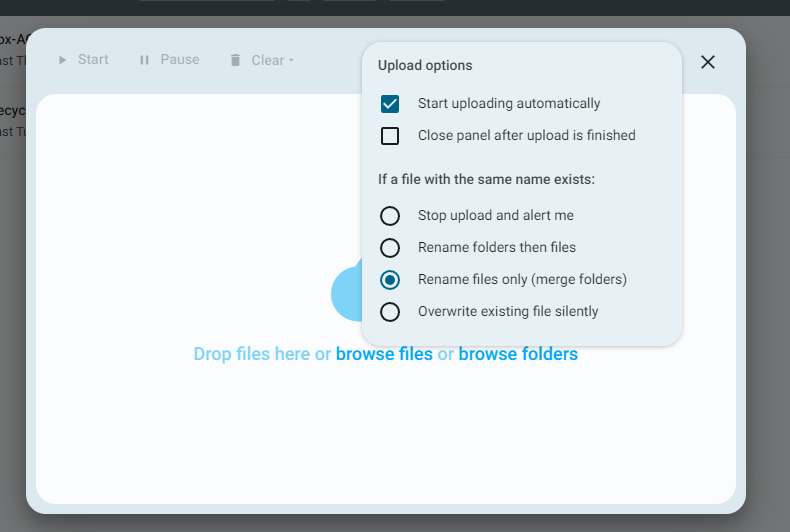
Start uploading automatically
Selecting this option means that each file you add to the uploader will begin to upload immediately. If you disable this option, you can begin to load all of the parts of an upload before beginning pieces of it at a time. This can help you manage complex or large uploads on a sub-optimal connection.
Close panel after upload is finished
Enabling this option will close the upload panel as soon as the final file has finished uploading to Curate. Leaving this option disabled will allow you to browse your completed uploads in the panel and at-a-glance verify that they have valid integrity checks see pre-upload integrity verification.
If a file with the same name exists
These exclusive options allow you to dictate how Curate handles uploads of files with duplicate names. Note that this does not check for duplicates based on their content, only their name. You should generally avoid uploading multiple files with the same name to a single folder or area intentionally. If you select "rename files", each file with a duplicated name will have a numbered suffix. "merge folders" means that files inside a folder with a duplicated name will instead be uploaded to the original folder. Any duplicated files within the merged folder will be treated with the "rename files" process.
Pre-upload Integrity Verification
When uploading objects using the Curate web-uploader, it automatically generates and compares pre and post-upload checksums.
Each of your files will have a label attached which permanently records the result of the integrity check.

SFTP
Curate offers a connection to your workspaces over SFTP, allowing you to ingest more massive uploads of content into your quarantine space than the advanced web-uploader can handle. The SFTP protocol is more capable for massive uploads than HTTPS used in the advanced web-uploader, but uploading through SFTP in Curate necessitates a system reindex.
As a result, you will either need to schedule your planned SFTP upload with us ahead of time or, if the workload is not time critical, feel free to contact us once the upload has completed.
If you require SFTP upload in your Curate instance, please let us know when you procure Curate for your organisation, or send us a support ticket.
Remember, we'd strongly advise you to use the advanced web-uploader for most ingest usecases. It's best to only use sftp if your institution explicitly requires it.
Connecting to and Uploading Through SFTP
You can connect to your Curate workspaces over SFTP using any common FTP client. If SFTP is enabled for your Curate instance, you will be supplied the relevant connection details by email when they are provisioned.
SFTP Integrity Verification
Warning: it is difficult to maintain integrity verification for all your ingested files when uploading through SFTP. Many FTP clients offer often poor support for checksum features integrated with the protocol, as a result Curate is unable to automatically verify your SFTP uploads integrity.
To resolve this, you will need to generate a JSON manifest of checksums for your ingest content before you perform your SFTP upload, and then perform manual ingest integrity verification once it is complete. See Manual Ingest Integrity Verification for more information.
Once you have generated your checksum manifest, you may proceed to upload your content via SFTP. Once your content is uploaded, and we have completed the necessary reindex, you can upload your checksum manifest. See Manual Integrity Verification for more information
Ingest Integrity Verification
Curate offers powerful methods for ingesting content into the system which come with automated facilities for verifying that your files were not compromised as they were uploaded to the system.
Uploads using the Advanced Web-uploader will have their integrity verified completely automatically. Curate will notify you with status tags attached to the respective object if any items in your ingest workload are found to have been compromised during the upload process.
Uploads using SFTP require manual checksum verification, which you can read more about below.
Quarantine
Results
Once a file has been uploaded, the initial quarantine virus scan will run. If the file is found to contain malicious data, it will be moved to the "INFECTED" folder. You may then choose how and when you would like to action its removal. If the file passes the first virus scan, it will receive a "Qurantined" tag and it will be submitted for a quarantine period.
After the quarantine period has passed, the second virus scan will be performed. If no further threats are found, the files status label will change to "Released" and it will be moved automatically into the Appraisal space.
You can find detailed results for each scan in the quarantine process and the current quarantine period in the file information panel, see file information panel for more detail.
Quarantined
"Quarantined" indicates that the file has been successfully scanned and no immediate threats were detected. The file has now begin it's quarantine period.
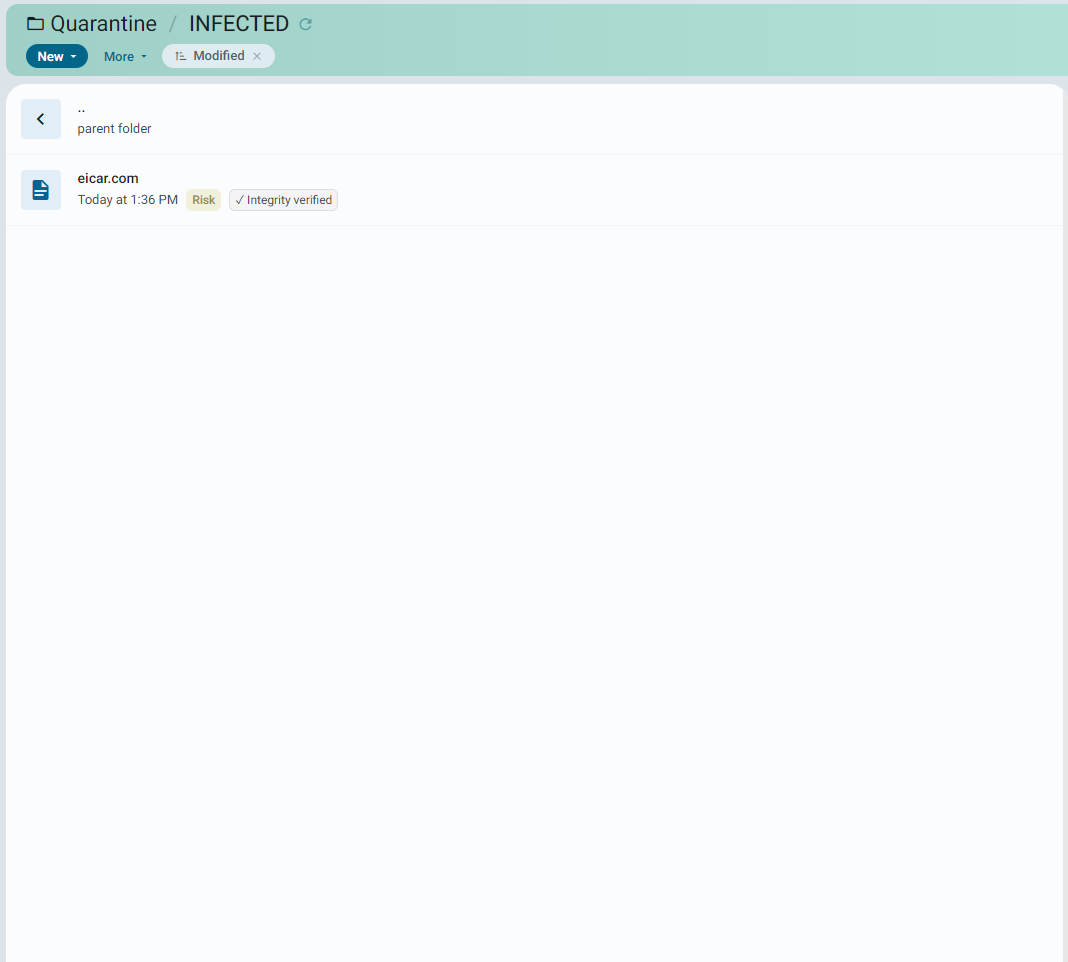
Risk
Files that have been removed prematurely from their quarantine period, or that are found to be compromised or infected are labeled "Risk". If a file was labelled risk due to indications of malicious data in them, it will be relocated to a safe directory called "INFECTED". This directory will be created automatically when required. You can test this behaviour by attempting to upload an eicar test file to the quarantine space.
Released
After 30 days has passed, the second virus scan will be performed. If no further threats are found, the quarantined files status label will change to "Released".
Uploading File and Folders into Personal
The upload process into the Personal Workspace is functionally identical, but note two major differences:
-
Files will be virus scanned once only.
-
If safe, the file is tagged "Passed".
-
If compromised, the file is moved to an infected directory.
-
You cannot move files out of the personal workspace.
Other Upload Methods
You can also get content into Curate using SFTP, webdav and with physical data transport devices when on-cloud.
Creating and Using a Deposit Space
Curate allows you to share any file, folder or other area see Sharing files or folders for more detail. By allowing users of a shared area upload permissions, you can easily create a secure space for your submitters to deposit their content.
Be sure to create your deposit space in the Quarantine workspace, so that your deposited files are automatically quarantined. You are also unable to upload files in to workspaces other than Quarantine and Personal.
Setup
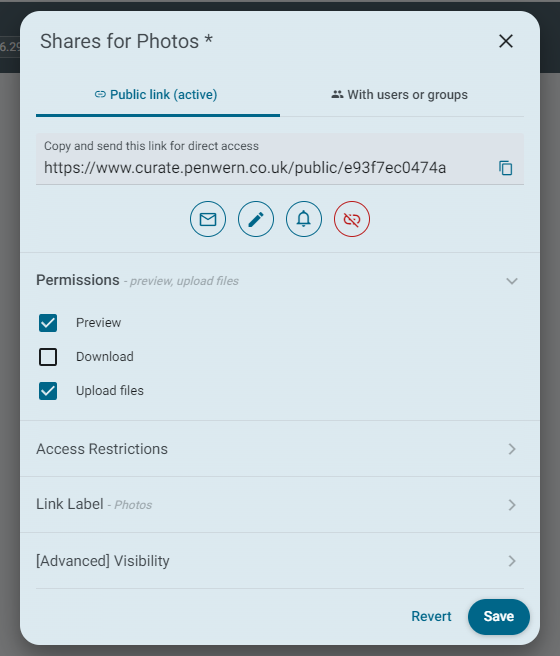
First create and share a folder for your deposit space. This folder is where your depositors will upload their content. (see sharing a file or folder)
Once shared, you can enable "Upload files" under the permissions tab. You should typically disable download permissions unless you want your depositors to be able to download content from other depositors.
Under the "Access restrictions" tab, you can choose to set a password for the space, and even specify an expiry period for the sharing link. NB: once your sharing link has expired, nothing will happen to your shared files or folders, the public URL will simply become inaccessible.
Usage
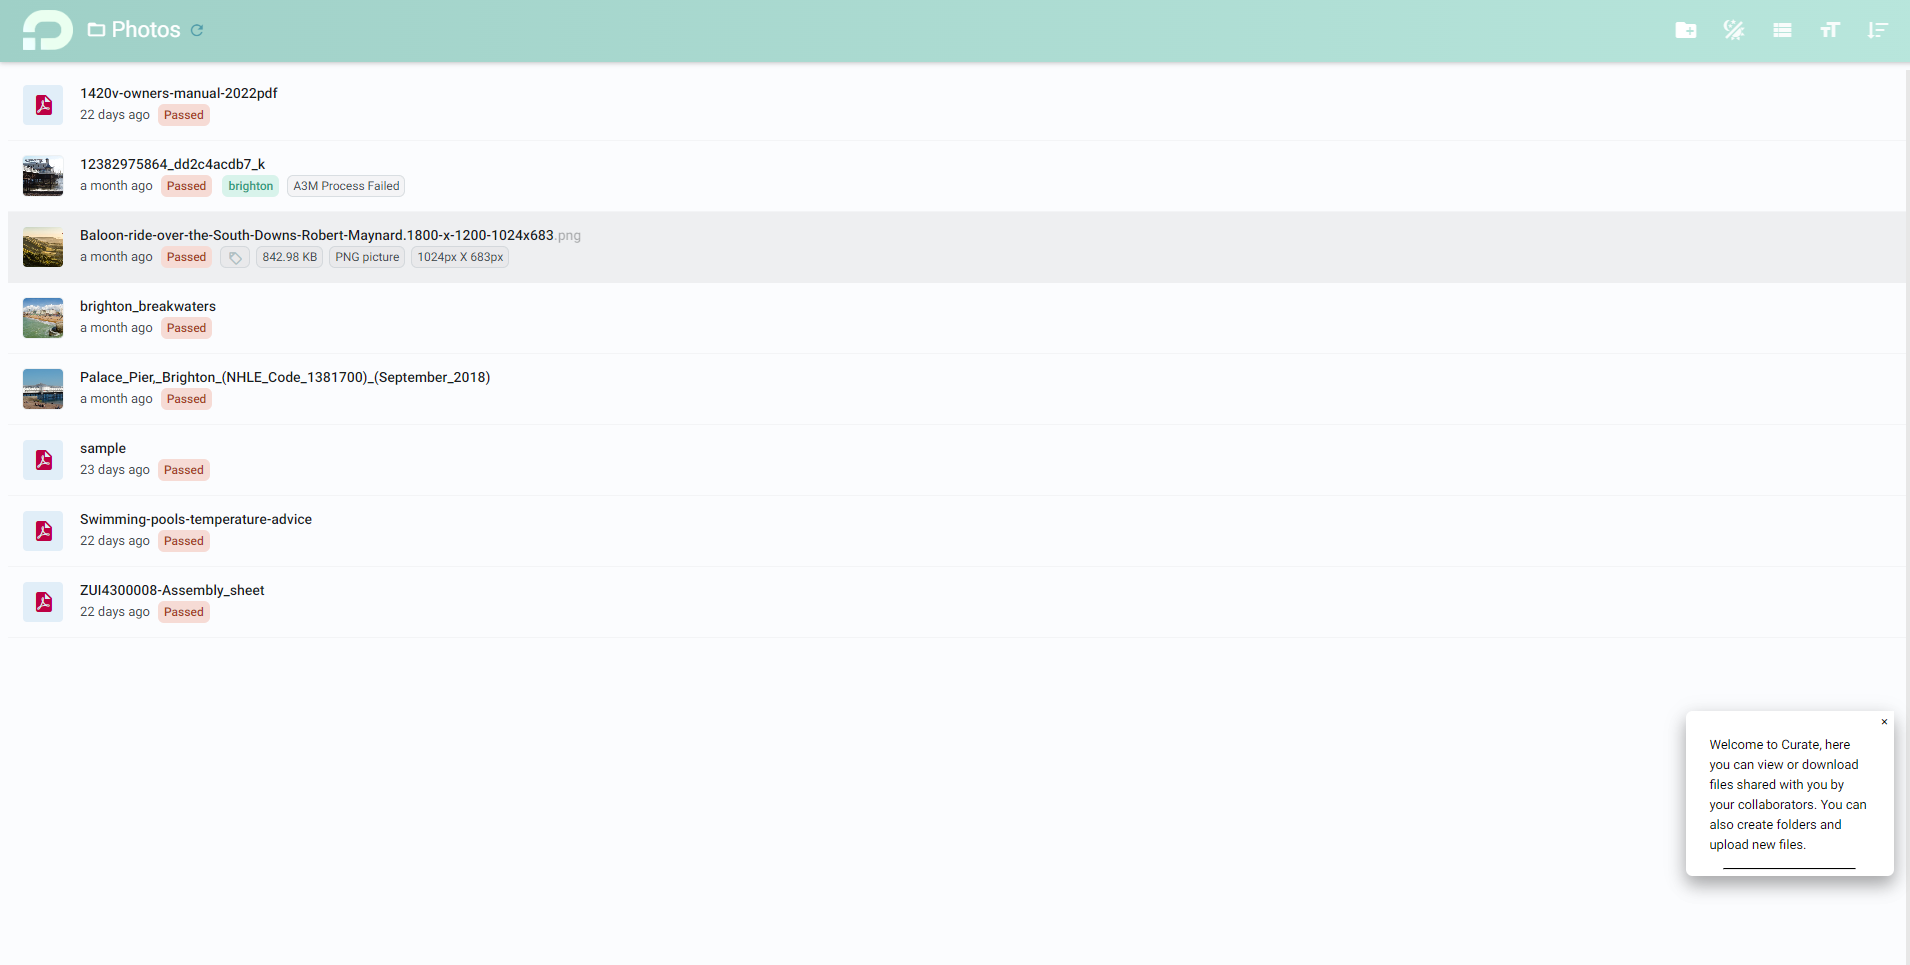
You may then share your deposit URL with your collaborators. They will be presented with a simple interface into which they can upload their deposit.
Simple upload interface
You can also choose to give your depositors an ultra-simple "drop files here" style interface instead. Not only does this simplify the process of uploading files for your submitters even further, but it also ensures that they are unable to see any other content that has been uploaded into the space. To change the deposit space interface, open the "link label" section in the sharing configuration. Select "Drop Files Here" for the simple upload interface. Hint: make sure to save your changes.
Creating and Using a Smart Deposit Space
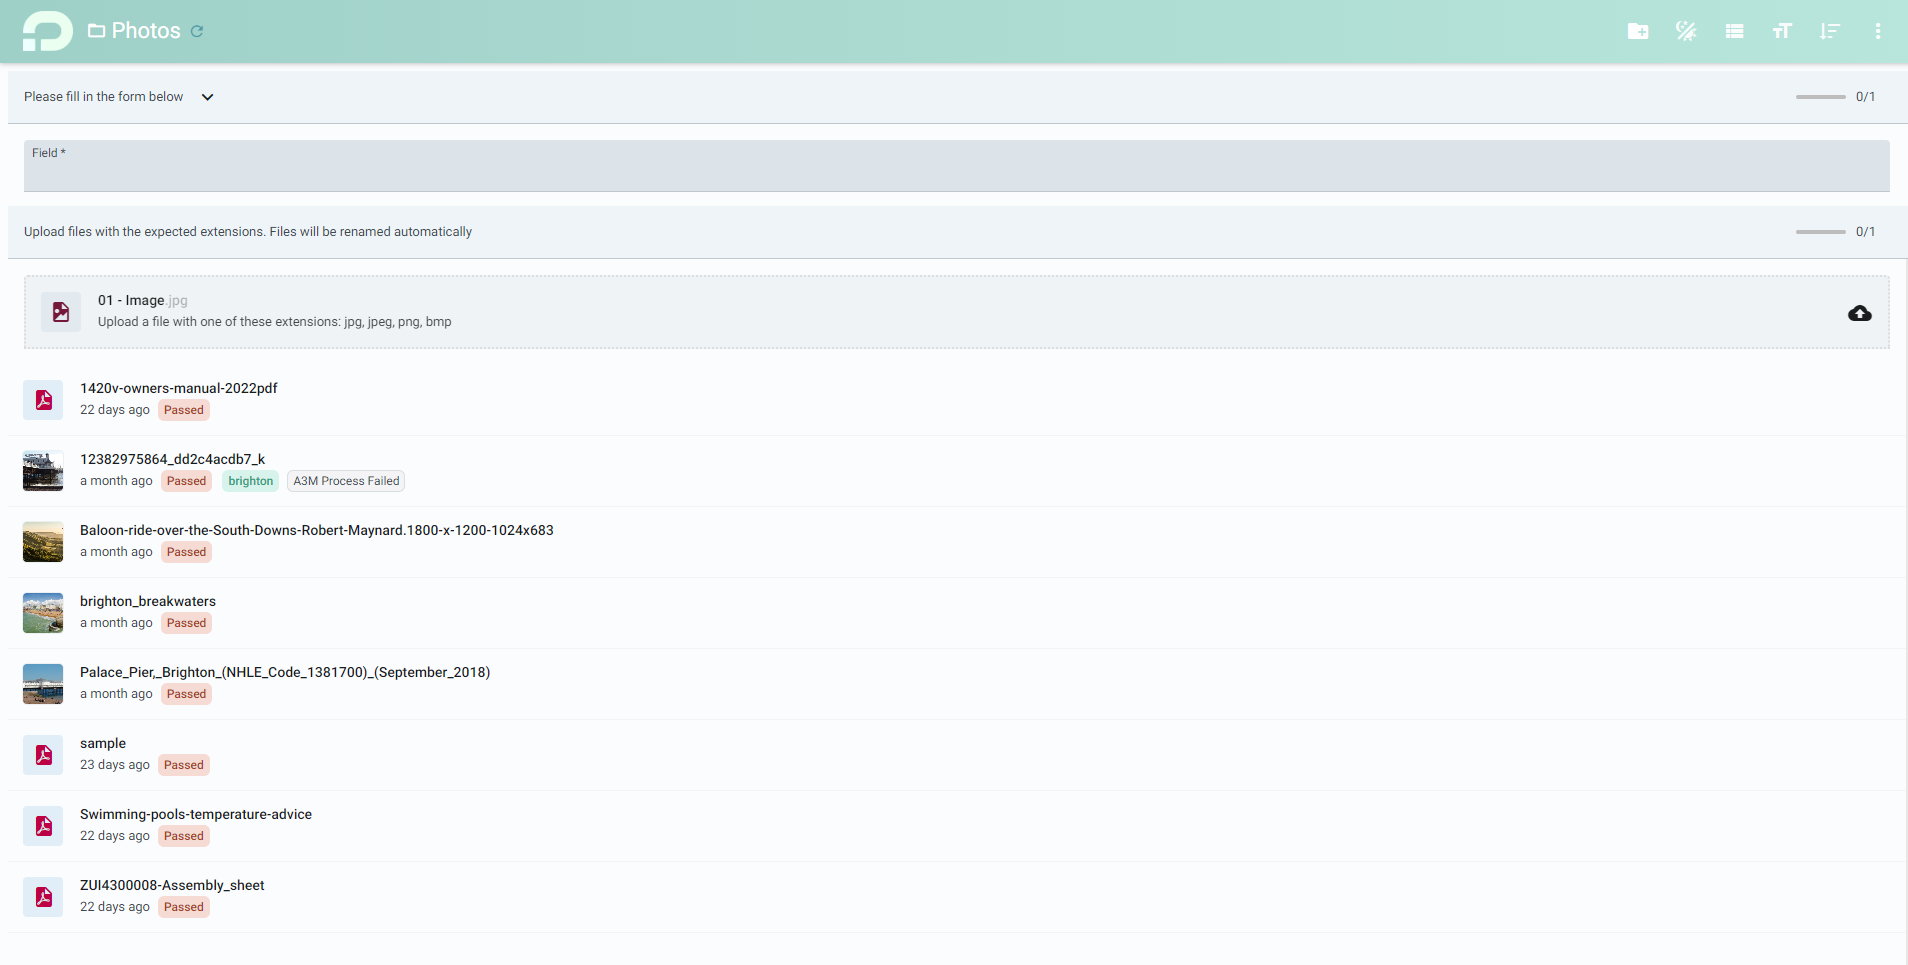
Smart Deposit Spaces allow you to require specific files, formats, contents, documentation and even metadata from your depositors. You can even leave them personalized messages upon submission, or chain additional actions in your workflow.
Just like other Deposit spaces, make sure to create it in your Quarantine workspace. You are unable to upload files into other workspaces, and it will ensure that all your deposits are automatically quarantined.
To create a Smart Deposit Space, first create a deposit space (see creating and using a deposit space). Then, open your new deposit space and right click in the empty space. You should then select the "Smart Form" option.
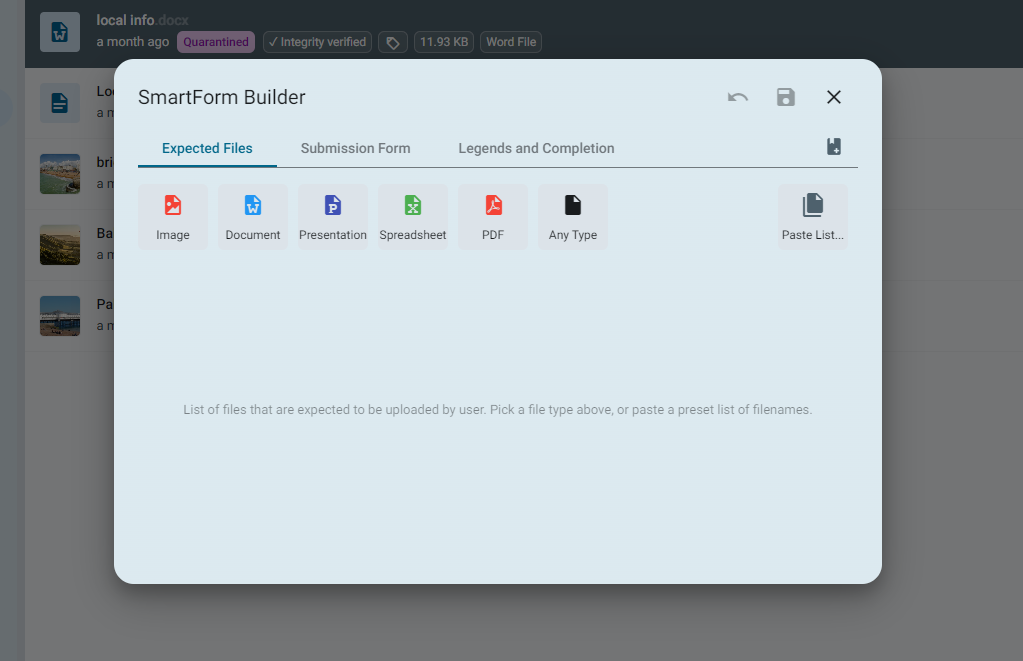
The Smart Form builder will allow you to select what file formats you require in your deposits in the "Expected Files" section. This will also allow you to describe the required files, add authorized extensions and size limitations.
You can then define what other information or metadata you require in the "Submission Form" section.
Follow on actions and submission messages can be configured in the "Legends and Completion" section.
In the "Creating and Using a Deposit Space" section, you can find more information about the configuration options for your shared space, including password protection, file visibility, access restrictions and more.
Once you have created your Smart Deposit Space, you can save it and disseminate the URL. Users accessing the link will be presented with a form requesting the information you have described. Their uploads will be rejected without any processing if the requirements are not met. The users are unable to submit their deposit until they have completed all your mandatory requirements.