Appraisal
Move Content into Appraisal
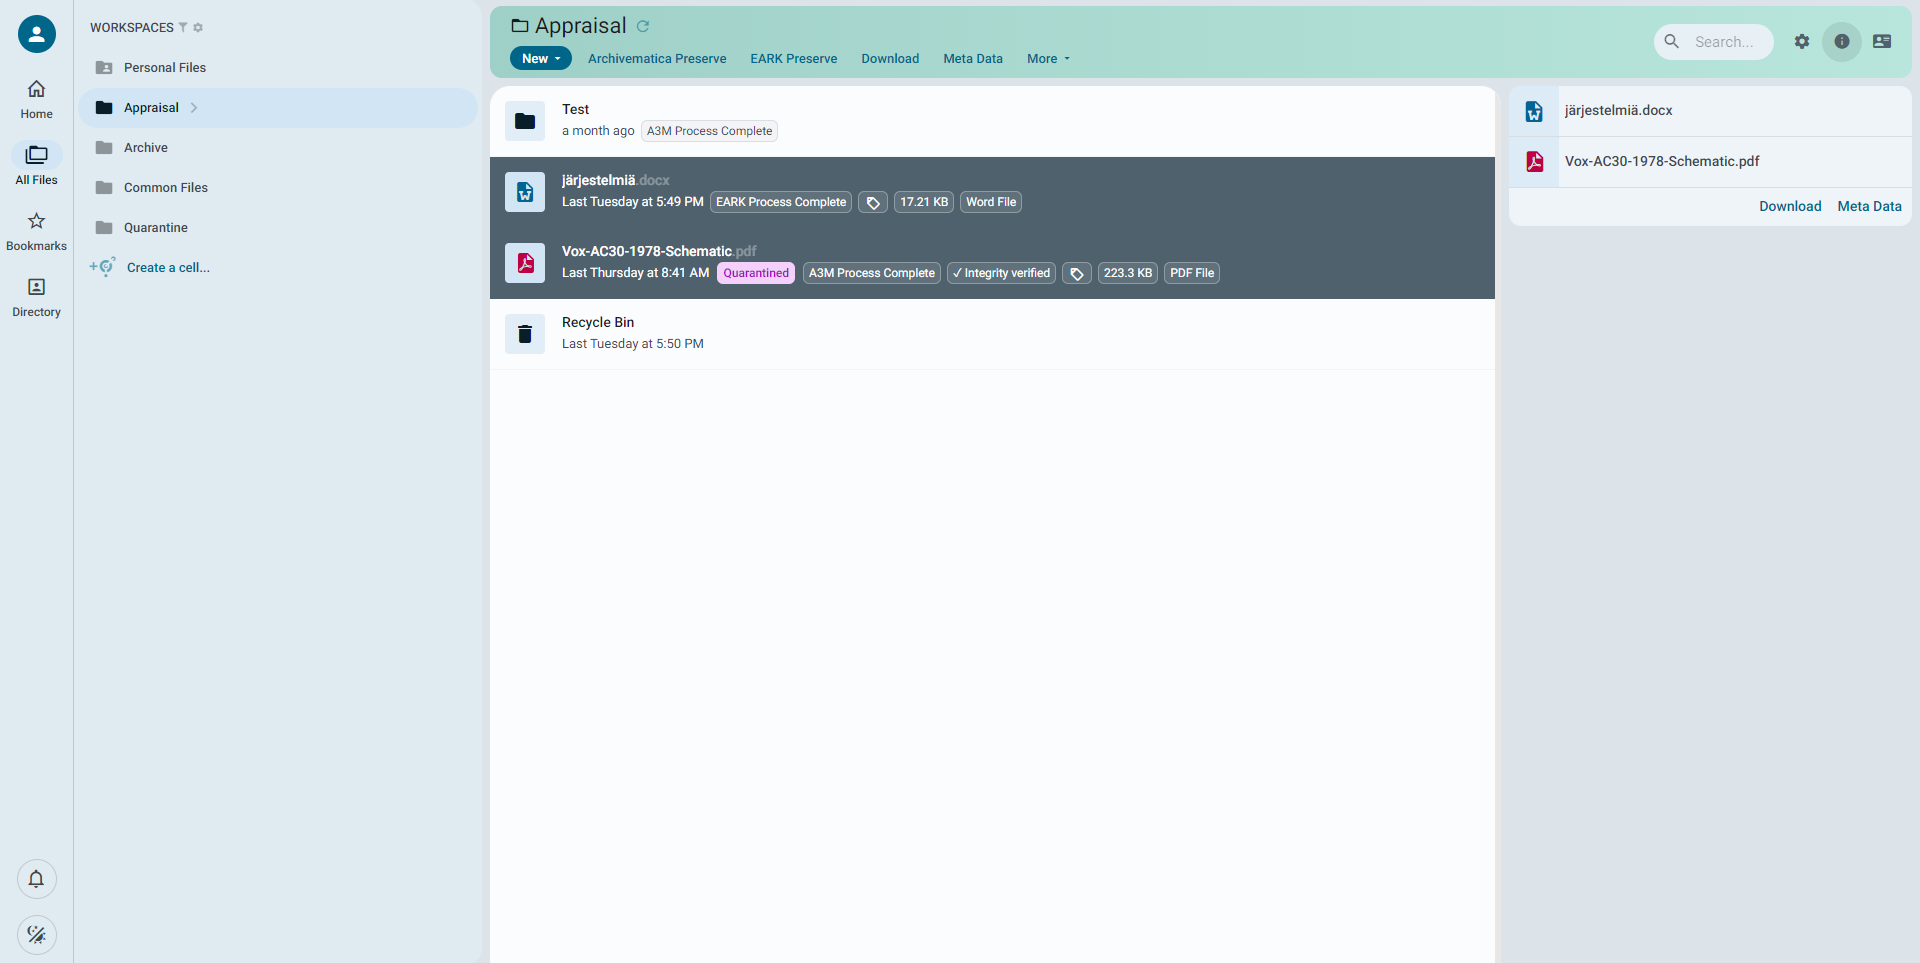
Files will be moved into the Appraisal workspace when they have completed quarantine and two successful virus scans. Curate TM is not prescriptive however and you can move data early. The Appraisal workspace is used to create arrangements (folder structures containing your files), conduct content appraisal helped by the file information available and to create descriptions.
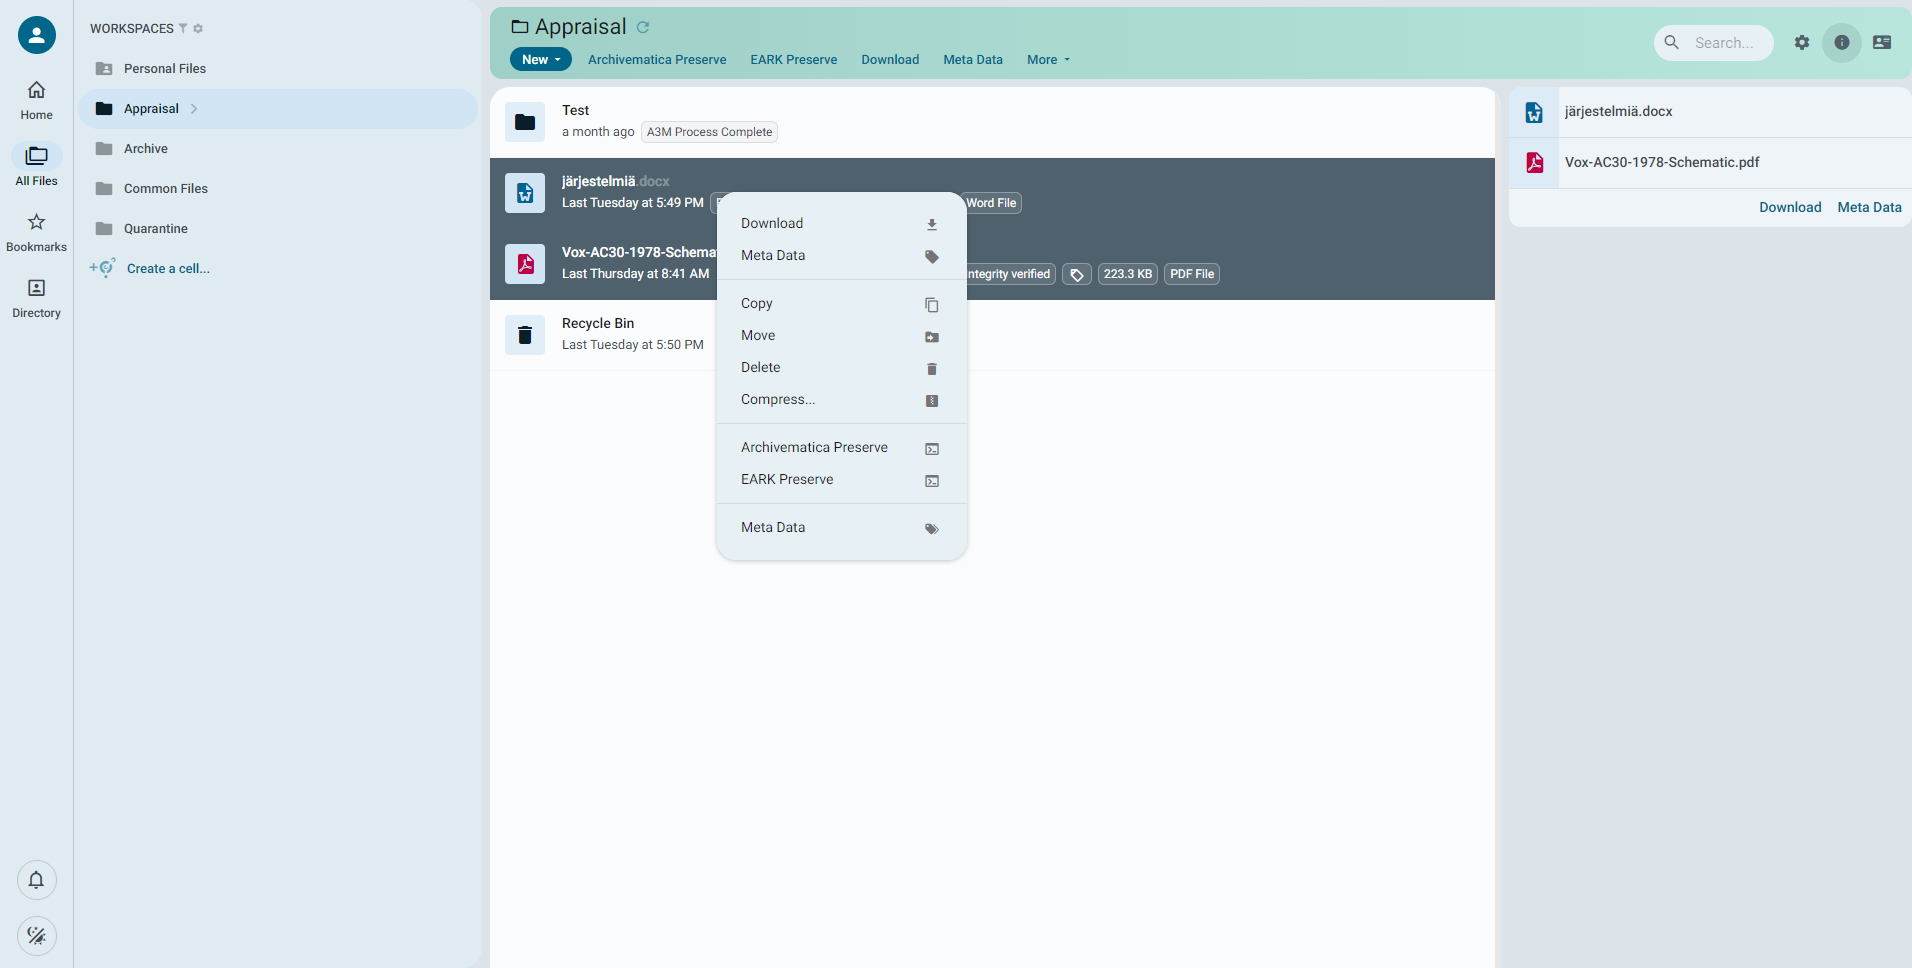
Try moving files and folders from the Quarantine workspace into Appraisal. You can do this by selecting, right clicking and selecting Move or by dragging and dropping to a different workspace in the listing in the lefthand column. Multiple files or folders can be selected for each move using the usual Control or Shift operations.
Note that if files are moved into Appraisal early (i.e. before the quarantine period is up) then the Quarantine Status tag changes to Risk to indicate that full quarantine conditions were not met.
Once you have files in the Appraisal workspace, Curate TM runs comprehensive file characterisation programmes. To access the generated characterization information, select a file and check the file information panel in the object information area. (see File Information Panel). Characterised objects will include these fields in their information area:
-
File MIME type
-
PRONOM ID
In Appraisal you can try creating folders ('New/New Folder') and moving files between folders to create an arrangement.
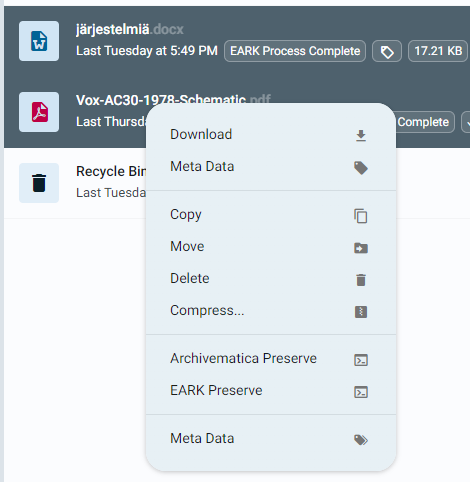
You can also move, copy, rename, delete, lock and bookmark files with right mouse click functions. Certain media and text files can be viewed/rendered by double clicking the file.
The Compress option allows you to create a compressed package of a folder in .zip, .tar or .tar.gz format. The original folder is retained when you do this. You can use this to compress your archive packages, or for any other general utility purpose.
Note that you can also move files from Quarantine into Personal, but you will not be able to move them back out!
Creating Descriptive Records
While you can begin to describe your files and folders from the moment they are uploaded to Curate, many users choose to wait until the objects have completed their Quarantine period successfully and have been characterized in the appraisal space. This approach gives you the most complete understanding of the object before describing it, it also ensures you do not spend time describing files that have been deemed unsafe.
Note that any description you apply to files in their quarantine period will be retained, all metadata is retained with a file no matter where it goes in the system.
Describing a Single File or Folder
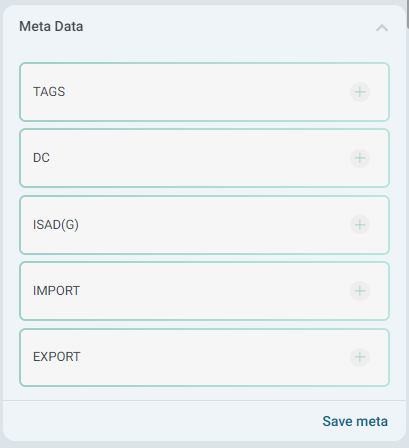
Descriptive metadata is used to annotate a file, folder or group of files in a folder structure. All descriptive metadata in Curate TM is indexed and searchable (see search). Curate TM provides both the Dublin Core simple 15 element schema which you can read about in detail (if you want to) here and the full General International Standard Archival Description ISAD(G) descriptive metadata schema which you can read more about here
You can be as precise as you wish with the use of metadata elements by following the specifications and controlled vocabularies. Alternatively, you can just use those elements you wish, in the way that suits you, (for example by putting a title in for each file). Curate TM does not impose rules.
To begin to describe any file or folder in Curate, select the object you would like to describe. On the right hand side of your screen, in the object information area, you will see the file metadata panel. (see object information area , and metadata panel).

Next, click the dropdown for your chosen record schema. Curate features simple DC and ISAD(G) out of the box, but can easily support most any other standardized schema.
Enter the metadata for each field you would like to modify, and you will then see the "save" button appear at the bottom of the panel.
Note that the save button will appear as soon as any changes are made to the selected files descriptive metadata. If you select another file before saving or without reverting your changes, the changes will move to the next selected file and await you to "save" again.
Batch Describing Files and Folders
To describe multiple files and or folders at once, first select all the objects you would like to create or modify descriptive records for.
In the object information area, you will see only the file actions panel (see file actions panel) which will contain options to download the multiple selection of objects, or "meta data" to modify the descriptive records of all the files.
You can also right click any of the objects in your selection, and you will see the "meta data" option in the context menu.
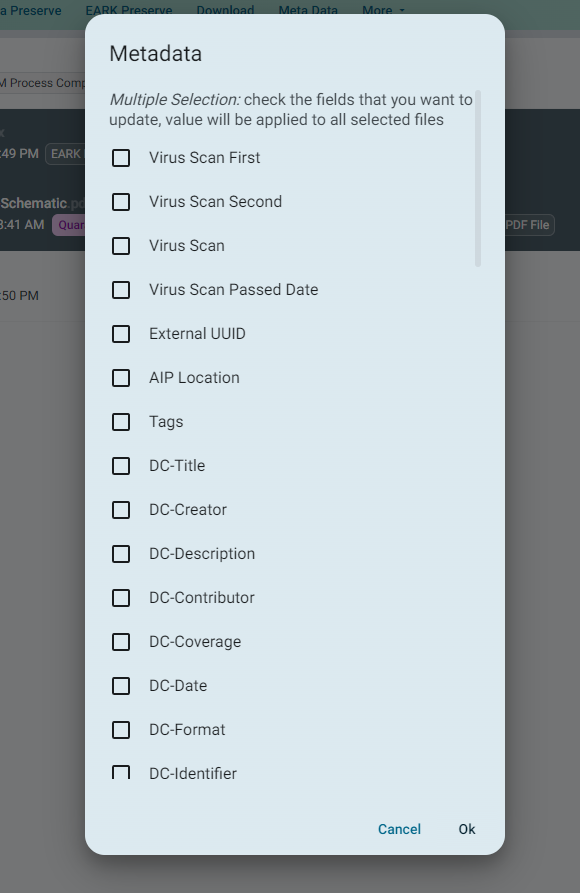
You will then be prompted to select the fields that you would like to modify.
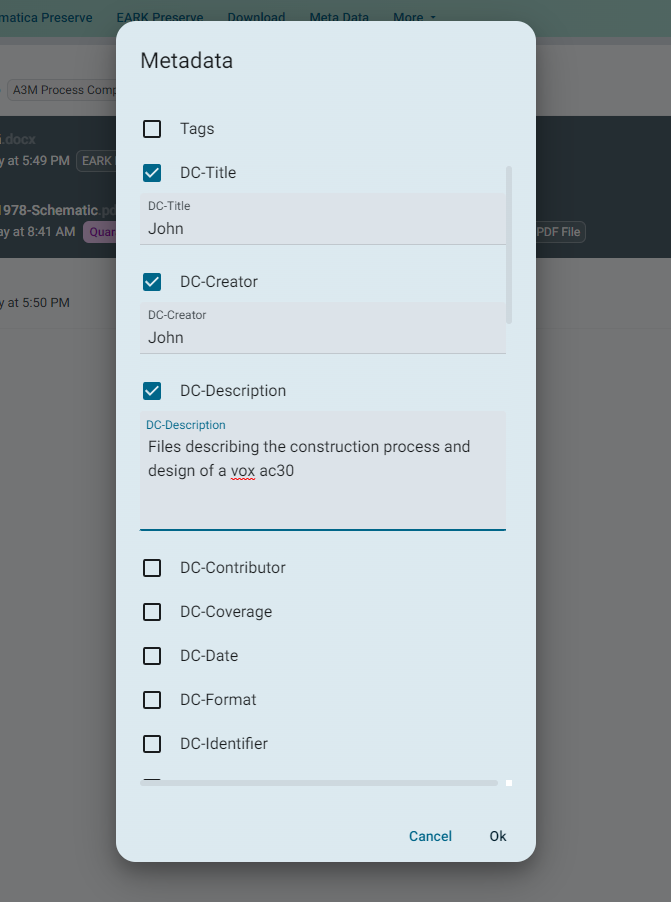
As you tick each field you would like to modify, a text area will appear in which to enter your new data.
Once you've modified all your chosen fields, click "ok" and all the files in your selection will be updated.
Importing Metadata
Curate TM allows you to import metadata from external sources into your Curate instance. You can import metadata from:
- CSV files
- OAI-PMH repositories
Importing Metadata from CSV Files
You can import metadata from a CSV file by navigating to one of your workspaces and selecting "Import Metadata CSV" from the "more" menu. You will then be presented with a dialog box that allows you to select the CSV file you wish to import. Once you have selected the file, you will be presented with a preview of the metadata that will be imported. You can then confirm that you wish to import the metadata by clicking the "Import" button.
Importing Metadata from OAI-PMH Repositories
To import metadata from an OAI-PMH repository, you will first need to create a connection between your objects in Curate and records in the external repository you would like to import. To link a file or folder in Curate to an OAI-PMH record:
- Select the file or folder you wish to link to an OAI-PMH record.
- Open the metadata panel in the object information area.
- Open the "import" section.
- Enter the URL of the repository that holds the OAI-PMH record you wish to link to.
- Enter the OAI-PMH Link ID of the record you wish to link to. This is the unique identifier for the record in the repository that appears in the OAI-PMH URL.
- Enter the metadata prefix that the OAI-PMH record uses. This is the schema of metadata that will be imported from the repository.
Once you have entered the required details, you can continue to create any other links to records in the repository. When you have finished, select all of the files or folders you wish to perform the import on, and select "Harvest OAI-PMH Record" from the "more" menu. You will then be presented with a dialog box that informs you of the status of each of your imports in a series of cards. If any errors occur, they will be displayed in the card. Once an import has completed, the card status for that import will change to "Complete". You may then close the import dialog box and select each of your objects to confirm that the imported metadata is as expected.
Support for OAI-PMH harvesting is currently limited to the native Curate descriptive metadata schemas; Dublin Core and ISAD(G). If you would like to harvest metadata from a repository that uses a different schema, please contact us for help. Flexible coverage for additional metadata schemas is planned for future releases.
Working with OAI-PMH can be tricky, and small differences between repositories can cause additional confusion. The error statuses in the import cards will help you to identify problems with your linked imports. Make sure to check the status of your linked repository if you are having problems harvesting a record. It's possible the the OAI-PMH repository you are trying to link to is not working properly, or the record you are trying to link to is not available.
If you have persistent problems, please contact us for help.
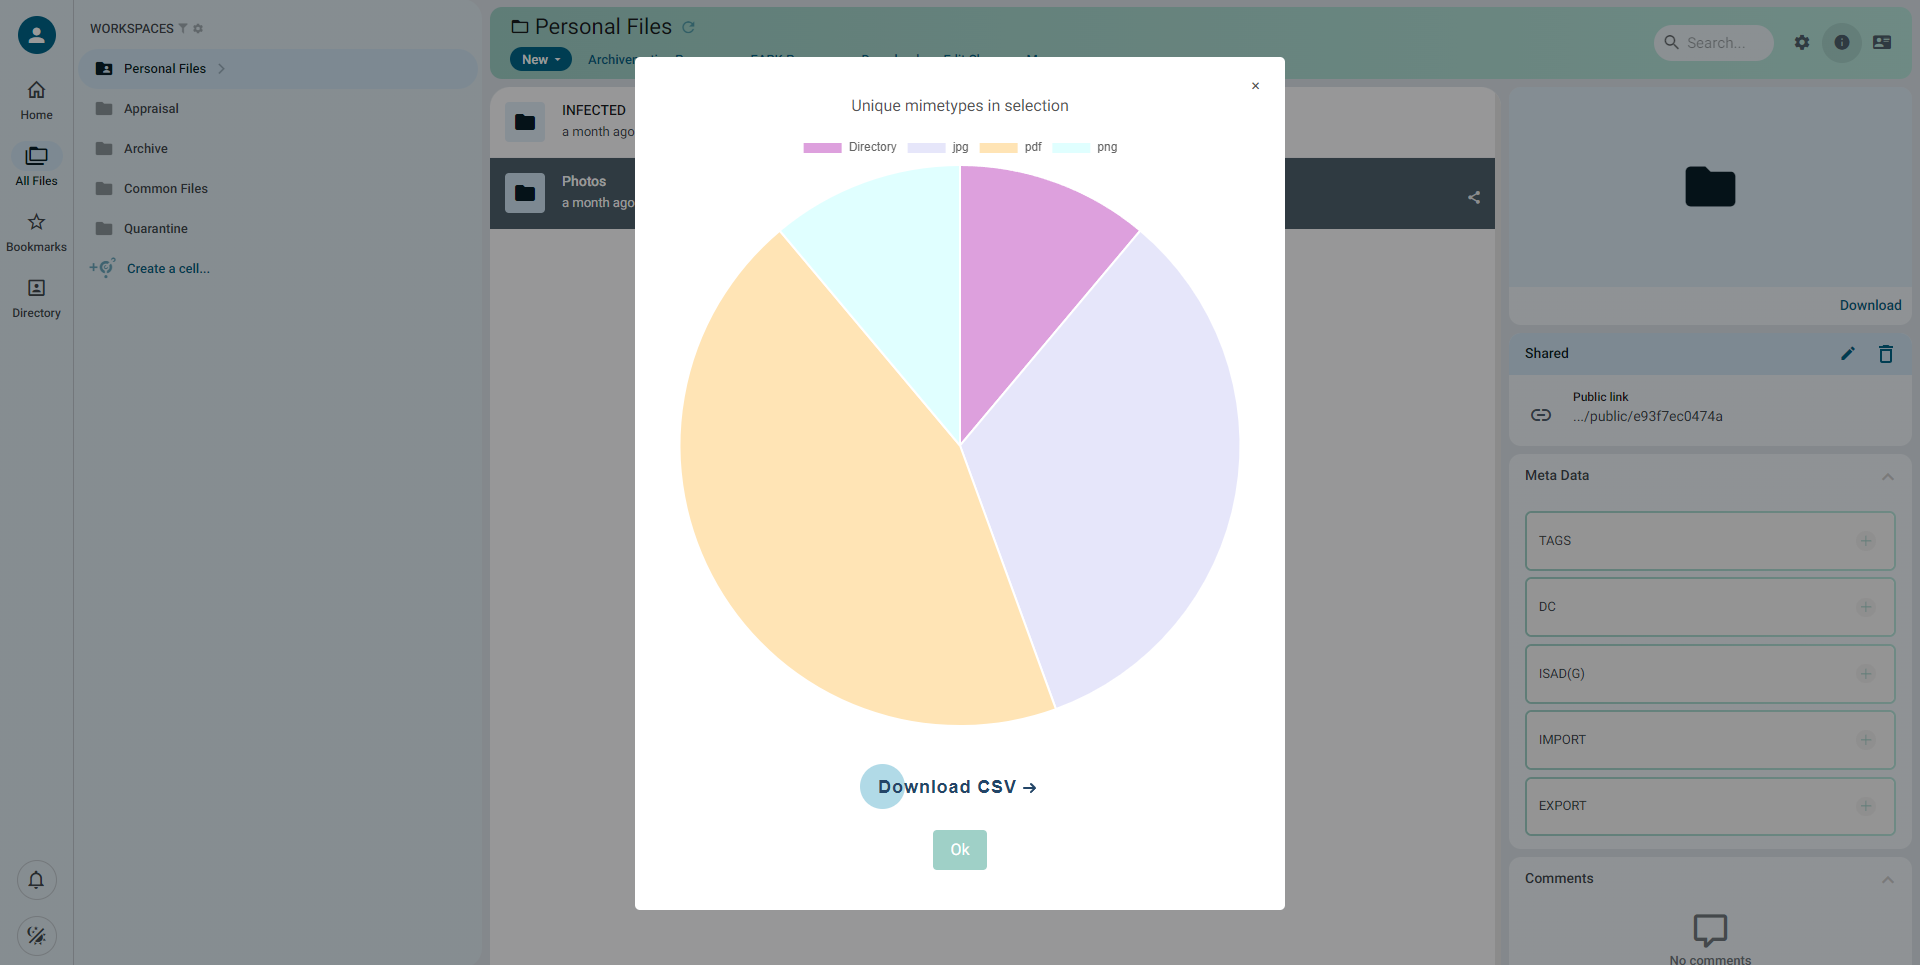
Creating a Report on File Types
Curate TM identifies file types via a MIME type and a PRONOM ID. You can generate detailed reports of the MIME types, for example to create a digital asset register, for any aggregation of files or folders. Try going to a high-level folder that contains other folders and files, click New and select 'Generate MIME type Report'. A popup will appear with a pie chart showing the filetypes in your selection. You can float over the chart to see the numbers. You can also download the MIME type report as a CSV file.
Creating a Transfer Package or SIP
Curate TM can create packages or SIPs for submission to repositories or digital preservation platforms such as: Archivematica, Preservica and EARK compliant systems using the templates in the Package Templates workspace. We can give you a demonstration of package creation if you are interested, just send us a message via the support channel.